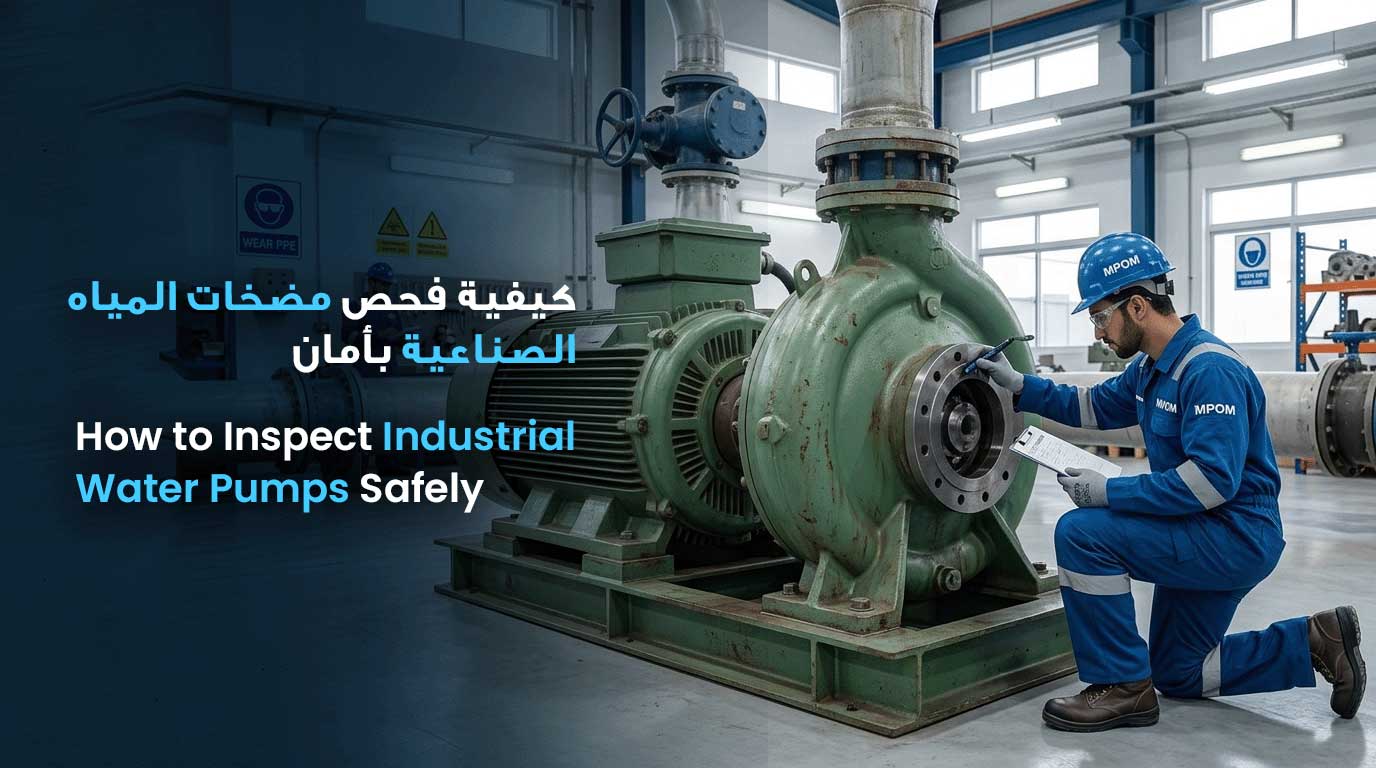
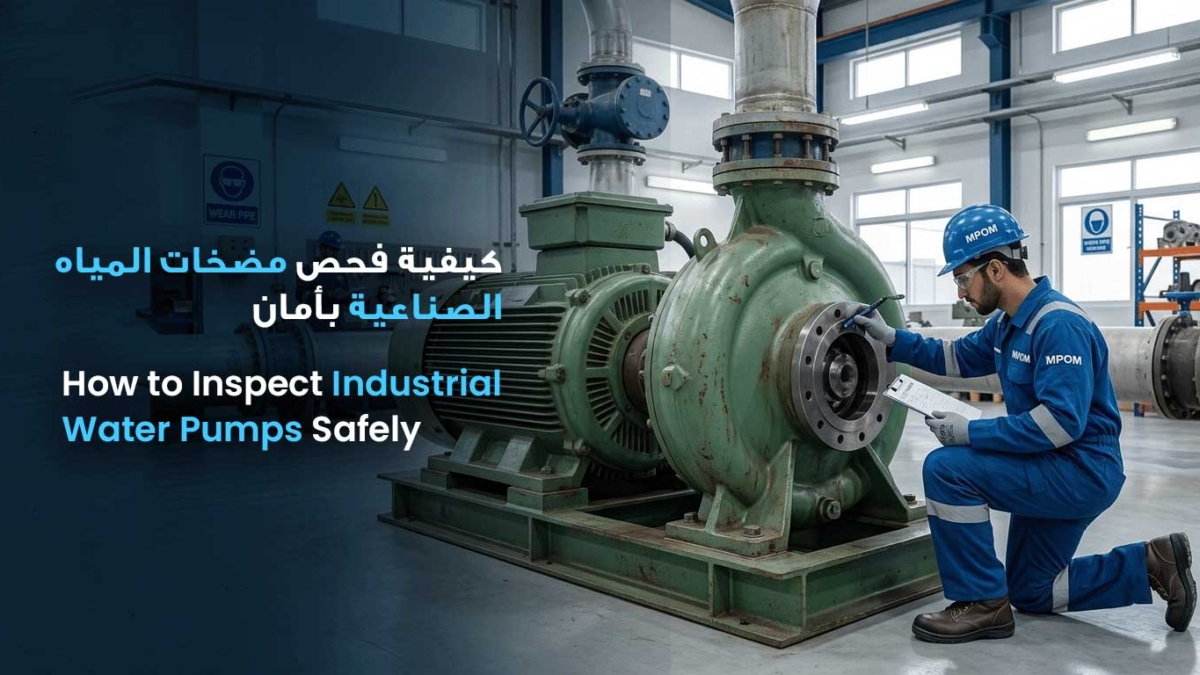
A pump rarely fails without giving warning. Rising bearing temperature, a wet seal area, fluctuating discharge pressure, or a new vibration pattern can all signal a developing fault. Knowing how to inspect industrial water pumps gives maintenance teams time to correct the cause before a production line, dewatering operation, cooling circuit, or construction activity is interrupted.
For operations teams, the goal is not simply to confirm that a pump is running. It is to verify that it is operating within safe mechanical, hydraulic, and electrical limits. A disciplined inspection routine reduces emergency repair costs, protects connected equipment, and helps prevent premature failure of seals, bearings, shafts, impellers, and motors.
Start With Safety and Operating Context
Inspecting a running pump and inspecting an isolated pump are different tasks. A live inspection is useful for identifying abnormal noise, vibration, temperature, pressure, and leakage. Any hands-on work near couplings, guards, terminals, or rotating equipment must be completed only after proper isolation and lockout/tagout procedures are in place.
Before beginning, review the pump’s intended duty. Confirm the expected flow rate, suction conditions, discharge pressure, fluid temperature, operating hours, and recent maintenance history. A pump can appear mechanically sound while operating far from its best efficiency point. That condition may lead to recirculation, excess vibration, overheating, and accelerated wear.
Make sure the correct personal protective equipment is available for the site and fluid handled. In industrial water systems, hazards may include hot surfaces, pressurized lines, chemical treatment additives, electrical panels, and slippery areas around leaks. Keep the work area clean enough to distinguish a fresh leak from old staining or washdown water.
How to Inspect Industrial Water Pumps During Operation
A running inspection should begin from a safe distance. Listen before touching anything. A healthy pump normally produces a consistent mechanical sound. Grinding, rattling, screeching, intermittent knocking, or a harsh gravel-like noise requires investigation.
That gravel-like sound may indicate cavitation. Cavitation occurs when pressure at the pump suction falls low enough for vapor bubbles to form and collapse inside the pump. It can erode the impeller and casing, reduce flow, and create severe vibration. Common causes include a blocked suction strainer, partially closed suction valve, undersized suction piping, excessive lift, air entry, or water temperature changes.
Check pressure, flow, and motor load
Compare suction and discharge gauge readings with the pump’s normal operating range. A low discharge pressure can point to impeller wear, incorrect rotation, a partially open bypass, internal recirculation, air in the suction line, or a system demand change. High discharge pressure may indicate a closed or restricted discharge valve, blocked downstream piping, or an incorrectly set control valve.
Pressure readings should not be considered alone. Check actual flow where instrumentation is available, then compare motor current with the expected load. Low flow combined with low motor current can suggest that the pump is not moving the expected volume. High current may result from excessive flow, high fluid specific gravity, mechanical drag, bearing problems, or an electrical fault.
Document readings at a consistent operating condition. One isolated gauge reading may not reveal much. A trend over several inspections is often what exposes a declining pump curve or a growing restriction in the system.
Look for vibration, heat, and movement
Inspect the pump base, motor feet, anchor bolts, piping supports, coupling guard, and grout or foundation condition. Loose fasteners, cracked grout, unsupported pipe weight, or a distorted base can transfer damaging vibration into the pump and motor.
Use a vibration meter where possible, especially on critical pumps. Rising vibration can be associated with imbalance, misalignment, worn bearings, cavitation, a damaged impeller, soft foot, pipe strain, or operation away from the pump’s preferred duty point. The location and direction of the vibration matter, so record measurements consistently at the same bearing housing positions.
Check bearing housing and motor temperatures with an infrared thermometer or approved temperature device. A sudden temperature increase deserves attention even if the unit remains within its published maximum limit. Compare both sides of the assembly and compare current readings with previous records. One unusually hot bearing housing can indicate lubrication failure, contamination, misalignment, or bearing damage.
Inspect seals and leakage paths
Mechanical seals should be inspected for leakage, heat, and evidence of dry running. A small amount of leakage may be normal for some packing arrangements, but a mechanical seal should not produce a continuous stream. Water collecting under the seal chamber may be caused by seal face wear, shaft sleeve damage, incorrect installation, excessive vibration, pressure fluctuations, or loss of seal flush where fitted.
Do not tighten or adjust a seal system without identifying the seal type and the reason for leakage. Over-tightening packing can overheat the shaft sleeve and create a larger repair. A leaking pump can also hide a more serious suction or alignment problem, so treat the leak as a symptom rather than an isolated defect.
Inspect the Pump After Isolation
When performance readings or visual checks suggest a problem, isolate the pump safely and allow it to cool if required. Verify zero energy before removing guards or opening inspection points. The inspection should then move from external condition to internal components.
Check coupling condition and alignment. Look for worn elastomer elements, cracked inserts, metal-to-metal contact, uneven wear, or evidence that the coupling has been rubbing its guard. Misalignment may be angular, parallel, or caused by thermal growth. Precision alignment is especially important after a motor replacement, base repair, piping modification, or pump overhaul.
Rotate the shaft by hand only after isolation. It should turn smoothly with appropriate resistance. Binding, roughness, tight spots, or excessive end play may indicate bearing damage, impeller contact, foreign material, or shaft distortion.
Inspect the following areas closely:
- Suction strainers and inlet piping for blockage, air leaks, corrosion, and collapsed or damaged flexible connections.
- Casing joints, drain plugs, gaskets, and fasteners for seepage, corrosion, and signs of pressure loss.
- Bearings and lubrication points for grease condition, contamination, over-greasing, or evidence of overheating.
- Impeller, wear rings, shaft sleeve, and casing surfaces for erosion, corrosion, scoring, deposits, and cavitation damage.
- Electrical terminals, cable glands, motor cooling fins, and control components for loose connections, moisture, dust buildup, or overheating marks.
Internal inspection intervals depend on fluid quality, duty cycle, pump design, and operating environment. A clean-water pump in a conditioned mechanical room may need less frequent strip-down inspection than a dewatering pump exposed to sand, silt, and variable site conditions. The correct interval is based on operating evidence, not a calendar alone.
Common Findings and What They Usually Mean
Repeated seal failures often indicate misalignment, shaft runout, dry running, unstable suction conditions, or incorrect seal selection. Replacing the seal without correcting the underlying condition can lead to another failure within a short operating period.
A pump that loses prime may have a suction-side air leak, failed foot valve, blocked strainer, leaking mechanical seal, or insufficient liquid level at the source. In some systems, the issue is not the pump itself but a change in suction piping, valve position, or upstream process conditions.
If a pump runs but delivers poor flow, inspect the impeller and wear rings for erosion, check rotation direction, and confirm that the discharge system is not bypassing or recirculating flow. For variable-speed pumps, also verify speed commands, drive settings, and feedback signals before dismantling the mechanical assembly.
Frequent bearing failure needs a broader review. Lubrication quantity and type matter, but so do alignment, pipe strain, vibration, operating load, and contamination. A bearing replacement is a repair. Finding why the bearing failed is maintenance.
Build Inspection Into a Practical Maintenance Routine
The most effective inspection program separates quick operator checks from scheduled technical checks. Operators can record noise, leakage, pressure, temperature, and visible vibration during normal rounds. Maintenance personnel can then perform alignment checks, vibration analysis, electrical testing, lubrication work, and internal inspections at planned intervals.
Use a standard inspection sheet for each critical pump. Record operating hours, pressure readings, motor current, vibration, temperatures, leakage observations, work performed, parts replaced, and any abnormal conditions. This creates a service history that supports better repair decisions and helps identify recurring faults across similar units.
For facilities in Dammam, Dhahran, Khobar, Jubail, and Alahsa, rapid response still matters when a pump fails. But planned inspection is what turns avoidable breakdowns into controlled maintenance work. When inspection findings point to seal damage, bearing wear, impeller erosion, alignment issues, or electrical faults, address them before the pump becomes the reason operations stop.